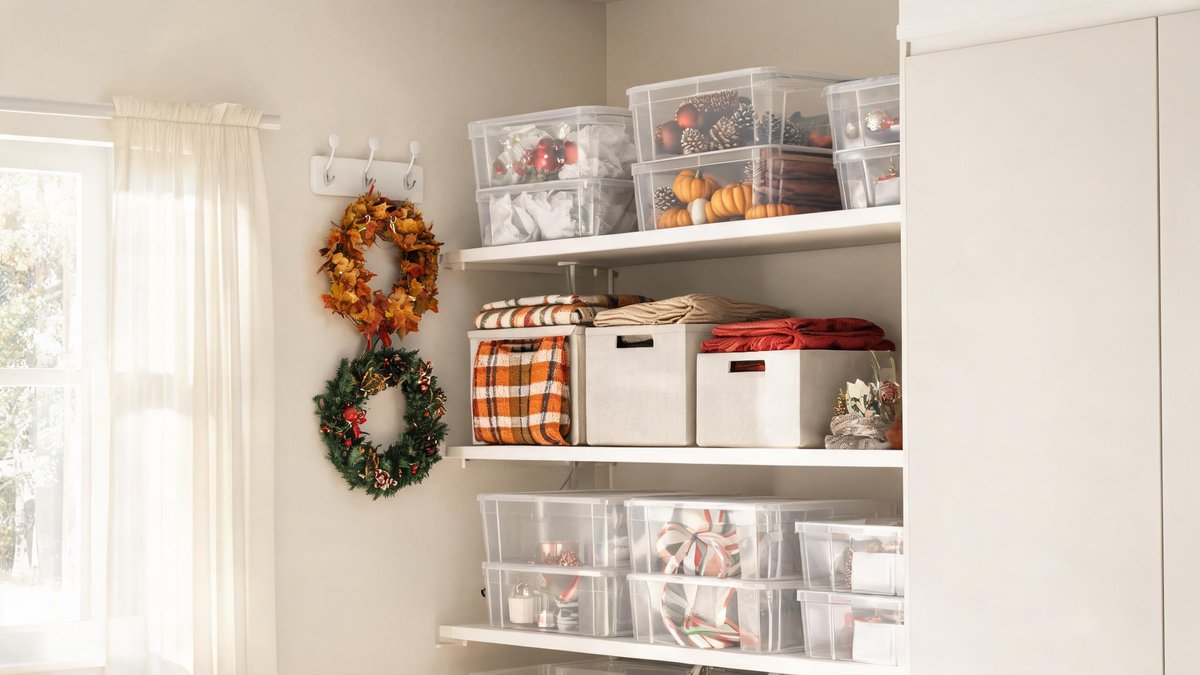
Seasonal decor brings warmth and personality to your home, but storing it can turn closets and garages into a jumbled mess. You don't need to purge the ornaments you love to recapture precious square footage. With a few smart container swaps, clever repurposing, and a fresh perspective on how you pack, you'll keep every wreath, strand of lights, and figurine in much less space. Here are the specific storage upgrades that make the biggest difference.
Ditch the Bulky Original Boxes
Ornament boxes with flimsy cardboard dividers squander shelf footprint. A set of 100 glass balls in factory packaging gobbles about 3.2 cubic feet, mostly air and thick paper trays. Transfer those same ornaments into a stackable 17-quart clear bin with adjustable dividers and you compress that down to just 1.8 cubic feet—a 44% reduction. Multiply that by all your holiday categories and you reclaim enough room for an entire extra season's worth of decor. The takeaway is simple: measure your shelf depth first, then buy clear, rectangular bins that stack flush. Skip domed lids; they waste vertical space. Use modular divider inserts so you can fine-tune compartments for different shapes. You'll spot exactly what's inside without popping a lid, and you'll stop treating empty air like it's part of your collection.
Vacuum-Seal Your Fabric Decor to Triple Vertical Space
Wreaths, tree skirts, plush stockings, and fabric garlands are sneaky space hogs. A large wreath stored in a padded bag often occupies 3.5 cubic feet. Slide that wreath—bag and all—into a jumbo vacuum-seal bag, suck out the air, and you collapse the bundle to roughly 1.2 cubic feet. That's a 65% volume drop, meaning you stack three compressed wreath sets on a shelf that previously held one. For blankets and tree skirts, standard large vacuum bags work perfectly. Just make sure the items are bone-dry before sealing to prevent must. Label the bags with a permanent marker indicating the holiday, because compressed fabric all looks the same. The practical move: invest in reusable, heavy-duty vacuum bags with a double-zip seal. You'll save at least 2 cubic feet per bag, and you'll stop watching fabric pieces balloon out to fill your bins.
Design Tip: Reseeding bare lawn patches in early fall gives grass 3 months to establish roots before winter. Spring seeding often fails because summer heat kills immature grass.
Wrap Lights Around Cardboard Templates for Tangle-Free Storage
A snarled ball of mini-lights eats time and breaks bulbs. Instead, grab a 12-inch by 18-inch rectangle of corrugated cardboard and cut a deep notch at each narrow end. Wrap your 100-light strand lengthwise around the form, tucking the plugs into the notches. The flattened coil measures under an inch thick. A tangled ball of lights consumes about 0.4 cubic feet; four wrapped cards stacked together use just 0.1 cubic foot. That's a 75% space saving, and you'll test each strand in seconds because they aren't knotted. Make templates for icicle lights and rope-light cords too. Store the cards vertically inside a slim bin, like hanging file folders. If you're short on cardboard, plywood forms last for years. The bottom line: you'll never spend 15 minutes untangling a strand again, and your bulb failure rate will drop because you aren't yanking on delicate wires.
Store Your Tree Upright in a Rolling Duffel
An artificial tree box lying flat steals valuable floor area. The standard 7.5-foot tree box claims nearly 9 square feet of garage floor. By switching to an upright rolling duffel bag, you shrink that footprint to about 6.5 square feet—roughly a 28% reduction. Many duffels also feature wheels and reinforced handles, so you can glide the tree into a narrow nook beside a shelving unit instead of hoisting it overhead. Make sure the duffel is labeled and has a sturdy base that keeps the bag vertical. If your tree sections are hinged, collapse them before sliding into the bag to avoid stress on the joints. The real win: you'll stop tripping over a wide box every time you reach for your toolbox. Bonus tip: place a desiccant packet inside to manage humidity if the tree sits in a basement or attic.
Label Sides—Not Just Tops—So You Can Stack Without Chaos
Stacking bins three or four high hides the top label instantly. The average household wastes 18 minutes per season hunting for the right holiday box, according to organizational studies. Comprehensive labeling on all four sides and the lid cuts that search time to under 3 minutes. Use a label maker with weather-resistant tape or write directly on the bin with a paint pen. Better yet, assign a specific color of duct tape to each holiday—red for Christmas, orange for Halloween, pastel green for Easter—and wrap a band around every bin of that season. You'll recognize the correct stack from across the room. Add a brief content list on the side showing priority items: "ornaments – living room," for example. The five-minute upfront labeling effort will save you genuine frustration and stop you from pulling down three wrong bins before you find the one you need.
Rethink Wreath Storage with Garment Bags
Dedicated wreath storage cases cost $15 to $25 apiece and still hog shelf real estate. A clear plastic garment bag from a dollar or big-box store runs about $3 and fits a 24-inch wreath without crushing the foliage. Hang the bagged wreath on a closet rod, a clothes rack, or a hook on the back of a door. You'll eliminate shelf boxing entirely, freeing up 2 linear feet of shelf for smaller bins. The transparency lets you identify the wreath at a glance. For added protection, slide a cardboard circle inside the bag to keep the wreath flat. If you store multiple wreaths, stagger them on a double-rod garment rack. This approach scales to garlands and swags too—just drape them over padded hangers inside a longer garment bag. The cost saving alone is noticeable; outfit your entire wreath collection this way and you'll pocket $12 to $22 per wreath, while turning dead closet air into useful storage.