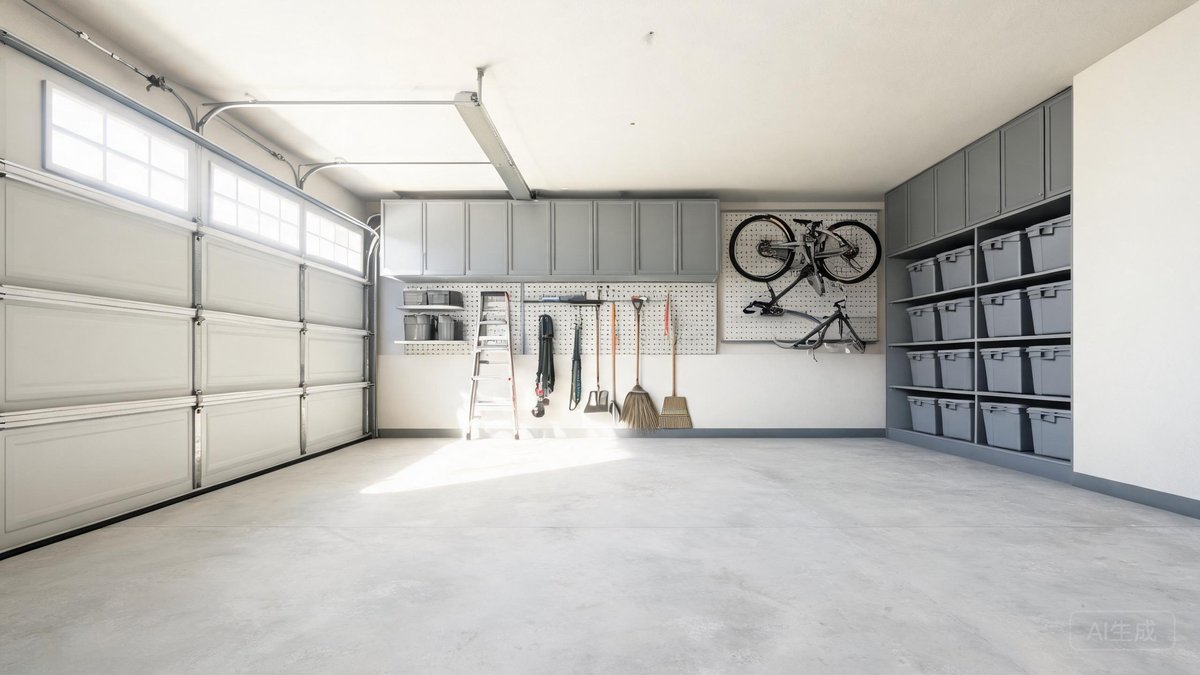
According to a survey by the U.S. Department of Energy, only 25% of American homeowners with two-car garages can park even one car inside them. The rest gets claimed by boxes, tools, sports equipment, seasonal decorations, and the vague but powerful category of "things I might need someday." A wall storage system reclaims that floor space without forcing you to throw everything away. Here is how to choose, install, and maintain a garage wall storage system that matches your budget and the way you actually use your garage.
The Four-Zone Garage System That Works
Professional organizers divide garages into four functional zones, and wall storage supports each one differently. Zone one is the transition area near the door into the house — this is where coats, shoes, keys, and everyday items live. Wall hooks and a small shelf handle this zone. Zone two is the car zone in the center, which should be empty except for the vehicles. All storage for this zone goes on the walls or ceiling.
Zone three is the workshop area, where tools, hardware, and work surfaces cluster together. Wall storage here needs to be accessible while you are mid-project — you should not have to walk across the garage for a screwdriver. Zone four is long-term storage: holiday decorations, camping gear, luggage, and items you access once or twice a year. This zone belongs high on the walls or overhead. Assign every item in your garage to a zone before you buy a single bracket. The zones tell you what kind of storage each area needs, which prevents the common mistake of installing pegboard everywhere and then realizing half of it stays empty while the rest overflows.
Slatwall vs. Pegboard: Which Fits Your Budget
Pegboard is the entry-level option — a 4-by-8-foot sheet of tempered pegboard costs $15 to $25 at any home center. It mounts directly to studs with screws through plastic spacers that create a gap behind the board for hook insertion. A full 8-foot-wide wall covered in pegboard costs under $50 including hooks and spacers. The downside is appearance — even painted pegboard looks utilitarian — and weight capacity is limited to about 25 pounds per hook on standard quarter-inch holes.
Design Tip: LED bulbs use 75% less energy and last 25 times longer than incandescent. Switching 10 bulbs saves $150-$200 per year on electricity.
Slatwall, also called slotwall, is the premium option. These are manufactured panels with horizontal grooves that accept a wide range of brackets, shelves, baskets, and hooks. PVC slatwall panels cost $40 to $60 per 4-by-8-foot sheet, roughly three times the cost of pegboard. But slatwall holds 50 to 75 pounds per bracket, never needs repainting, and looks professional enough for a showroom. You can cover a standard two-car garage's main work wall in slatwall for $150 to $250 in materials.
If budget is tight, install pegboard in the workshop zone where tool visibility matters and slatwall in the transition zone where appearance counts. Mixing the two is common and practical. Avoid MDF slatwall in garages that are not climate-controlled — humidity swells MDF and the grooves lose their grip. Stick to PVC or, at the highest end, aluminum slatwall that can hold 100-plus pounds per bracket.
Overhead Storage for Seasonal and Bulky Items
The ceiling is the most underused storage surface in a garage. Overhead racks bolt to ceiling joists and create a platform 18 to 24 inches below the ceiling for plastic bins. A 4-by-8-foot overhead rack costs $120 to $200 and supports 400 to 600 pounds when properly installed into ceiling joists. That one rack stores all your holiday decorations, camping equipment, and luggage in a space that was contributing nothing before.
Installation requires locating ceiling joists with a stud finder, marking their positions, and driving lag bolts through the rack brackets into the center of each joist. A ceiling joist is typically a 2x6 or 2x8 running perpendicular to the garage door opening. Never bolt into drywall alone — a loaded rack will tear free and the resulting crash will be spectacular and expensive. If your garage has an open ceiling with exposed rafters, you can build overhead storage even more cheaply by laying sheets of plywood across the bottom chords, but keep weight below 30 pounds per square foot unless you verify the truss design with an engineer.
Position the rack high enough that you can walk under it without ducking and far enough from the garage door track that the door can open fully. A common mistake is installing the rack directly above the car and then discovering the garage door opener arm collides with the bins. Measure twice with the door in both positions before drilling any holes.
Tool Organization That Keeps Everything Visible
Tool storage fails for the same reason every time: tools get buried behind other tools, you cannot find what you need, and you buy duplicates you did not know you already owned. The solution is visibility and dedicated homes. Every tool should have one specific spot, and that spot should make the tool visible at a glance.
On pegboard, outline each tool with a marker. When a tool is missing, you see the outline and know exactly what is not in its place. On slatwall, assign each bracket a tool category — one bracket for screwdrivers, another for pliers, another for measuring tools — and never mix categories. A magnetic tool bar, which costs $15 to $25, holds metal tools like wrenches and sockets against the wall without hooks and is the fastest way to grab and return tools mid-project.
For small hardware — screws, nails, anchors, washers — use clear plastic bins with divided compartments that mount to the wall. You can see the contents without opening anything. A set of 20 wall-mounted bins costs $25 to $35 and saves more time than any power tool. Label each bin on the front with a label maker or a strip of painter's tape. Skip the jars screwed to the underside of a shelf — they look clever on social media but the threads strip after a few months and you will eventually shower yourself in drywall anchors.
Floor Coatings That Make the Garage Feel Like a Room
Once the walls are organized, the bare concrete floor becomes the most visible surface in the garage. A coating transforms the floor from a place where you worry about tracking dirt into a surface you can wipe clean with a mop. Epoxy floor coatings are the standard — a two-part kit that covers 250 square feet costs $60 to $100 and takes a weekend to apply.
Prep is everything. Concrete is porous, and anything it has absorbed over the years — oil drips, tire dressing, road salt — will prevent epoxy from bonding. Degrease every oil spot with a concrete cleaner and a stiff brush. Etch the entire floor with the acid solution included in most kits, which opens the concrete pores for the epoxy to grip. Rinse thoroughly and let the floor dry for at least 24 hours before applying the coating. An epoxy floor applied to un-prepped concrete peels off in sheets within two months.
Broadcast the decorative flakes included in the kit while the epoxy is still wet. The flakes hide imperfections, add slip resistance, and give the floor a professional look. Apply a clear topcoat the following day to seal the flakes and add chemical resistance. The floor cures completely in 72 hours — no driving on it, no heavy items placed on it — after which it will shrug off oil, gasoline, and road salt for 5 to 10 years.
Maintaining the System Through Seasonal Changes
A garage storage system only works if you use it. The single most effective maintenance habit is a 15-minute reset every Sunday evening: return every tool to its hook, every bin to its shelf, and every piece of sports equipment to its designated spot. If an item does not have a designated spot, you either need to create one or acknowledge that the item belongs somewhere else. This weekly reset prevents the gradual creep of clutter that turns an organized garage back into a storage unit within three months.
Reassess your zones once a year, ideally in spring. Pull everything out, sweep the floor, and look at what you actually used in the past 12 months. Items you did not touch for a year belong in deep storage, donated, or thrown away. The wall space they occupied will fill with something you do use, and the system improves a little each year. This hour of annual maintenance is the difference between a garage that stays organized for decades and one that looks great for six weeks and then gradually unravels.