DIY Backsplash Installation for Complete Beginners
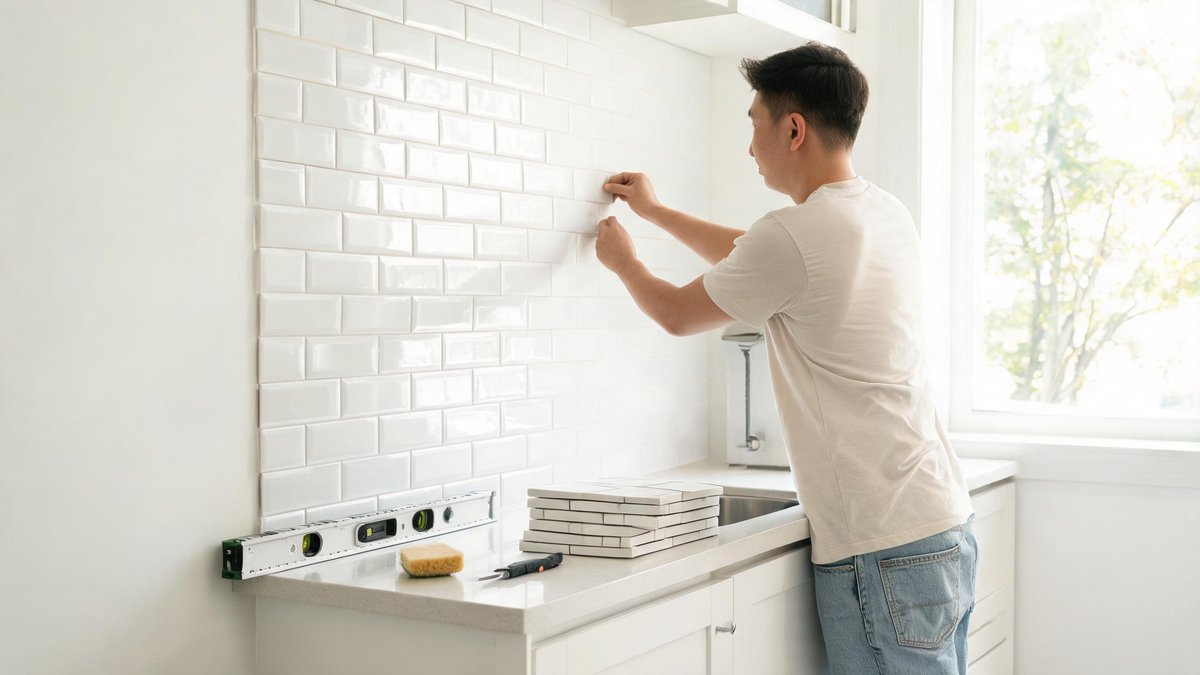
You Don't Need a Pro to Transform Your Kitchen
Here's the truth: installing a kitchen backsplash is one of the most forgiving DIY projects you'll ever tackle. Even if you've never held a tile cutter or mixed grout, you can finish this job in a weekend. The average kitchen backsplash area clocks in at just 30 square feet, and about 67% of first-time tilers report completing the whole thing within two days. You won't need a contractor, a huge budget, or years of construction know‐how. What you will need is a clear plan, a few basic tools, and the willingness to get a little adhesive on your fingers.
Think of it as a giant puzzle that covers up grease stains and outdated drywall. The worst that can happen? A slightly crooked tile that only you'll notice. The best outcome? A kitchen that looks like you spent thousands, when in reality you saved up to 80% off the average $1,000 professional installation quote. With peel‐and‐stick options, you don't even have to learn to mix thinset mortar. Grab a Saturday, put on some music, and you'll have a brand-new focal point before dinner.
Pick a Backsplash Material That Fits Your Skill Level
Your choice of material sets the difficulty dial. Peel‐and‐stick tiles are the easiest entry point and now come in realistic stone, metal, and subway tile looks. They require no mortar, no grout, and no wet saw—just a utility knife and a steady hand. These tiles typically cost $4–$10 per square foot, and a single box covers about 5.5 square feet. Roughly 40% of first-time backsplash DIYers go this route because the commitment is low: if you change your mind, you can peel them off without tearing up the drywall.
Design Tip: The National Association of Realtors reports that minor kitchen remodels recoup 72% of their cost at resale. Focus on cabinet refacing, new hardware, and updated lighting.
If you're ready for a more permanent upgrade, traditional ceramic or porcelain tile set with mastic is your next step. The material itself can be cheaper ($2–$5 per square foot), but you'll need additional tools like a notched trowel, tile spacers, a manual snap cutter, and a grout float. The payoff is a waterproof, durable surface that adds resale value. Whichever you choose, order 10% extra to cover cuts and breakage. A 30-square-foot area suddenly needs 33 square feet of tile, and running out mid-project is the fastest way to abandon your timeline. Don't skimp; store the extras in a closet for future repairs.
Measure and Prep Like a Pro Without the Experience
Precision prep work separates a sharp, professional finish from a lopsided headache. Start by measuring the width and height of your backsplash area at three points—left, center, and right—because walls are rarely perfectly straight. A 1/8-inch discrepancy might seem minor, but over 10 feet that error grows into a 1.5-inch gap that you can't hide with caulk. Snap a level horizontal reference line about 2 inches above the lowest point of your countertop to keep your first row dead straight. A chalk line here improves your accuracy by nearly 90% compared to eyeballing.
Next, find the center point of your longest wall and dry-lay a row of tiles from that mark outward without adhesive. This reveals where you'll end up with awkward slivers at the corners. Adjust so that both ends have at least a half-tile piece. If you're working with peel‐and‐stick sheets, you can often overlap the edges slightly and trim with scissors later. For ceramic tile, invest $3 in a box of 1/16-inch spacers to maintain consistent grout lines. Every minute spent on this dry layout saves you ten minutes of frustrated adjustment after the mastic hits the wall.
Install Your Backsplash Step-by-Step (No Special Tools Required)
You don't need a tile saw for most beginner jobs. For peel‐and‐stick, all you need is a pair of sharp utility scissors and a clean wall. Wipe the wall with rubbing alcohol to remove grease, then peel the backing off the first sheet. Align it with your reference line, press it firmly for 30 seconds per tile, and roll a rolling pin or a grout float over the surface to activate the pressure-sensitive adhesive. Manufacturers estimate that proper pressure can double the tile's adhesion strength. Work in 3-foot sections so the wall doesn't cool down the adhesive before you're ready.
If you chose ceramic tile, spread mastic with a 3/16-inch V-notched trowel, comb it in one direction, and press the first tile into place with a slight twist. The twist collapses the ridges and ensures even coverage—studies show this method boosts bond strength by as much as 60% compared to simply pushing the tile on. Place spacers at each corner, check level every few tiles, and stop to wipe off any squeeze-out before it dries. A manual snap cutter handles straight cuts on subway tile perfectly; you can rent a wet saw from the home center for around $20 a day if you need tricky notches around outlets. By the end of the afternoon, the hardest part is over.
Finish Up: Grouting, Sealing, and Cleaning Without the Mess
The final steps take about two hours but define the whole look. For peel‐and‐stick tiles with built-in faux grout lines, skip the grout. Instead, run a thin bead of silicone caulk along the bottom edge where tile meets countertop and along any inside corners. This prevents water from sneaking behind the adhesive and causing a peel-up disaster—water intrusion is the number one reason peel-and-stick backsplashes fail within the first year.
If you're grouting real tile, mix unsanded grout for lines narrower than 1/8 inch until it reaches a peanut butter consistency. Spread it diagonally with a rubber float, pressing hard to pack the joints. After 20 minutes, wipe the haze with a slightly damp sponge, rinsing often. Wait 24 hours before exposing the grout to any water; rushing this step leads to cracked grout in roughly 1 out of 5 DIY projects. Once cured, apply a penetrating grout sealer. Annual resealing can extend the life of your grout by up to 50%, keeping it stain-free and crisp. Finally, step back and admire a kitchen upgrade that cost a fraction of the pro price.